Professional Web Layouts (Part 3)
My most complex of the three tutorials so far. This
is beyond the other two. Instead of just telling you
what to do, i will show various options on what to do.
So of course, making it very long. Ok, so open a new
image with a white background. The size should be around
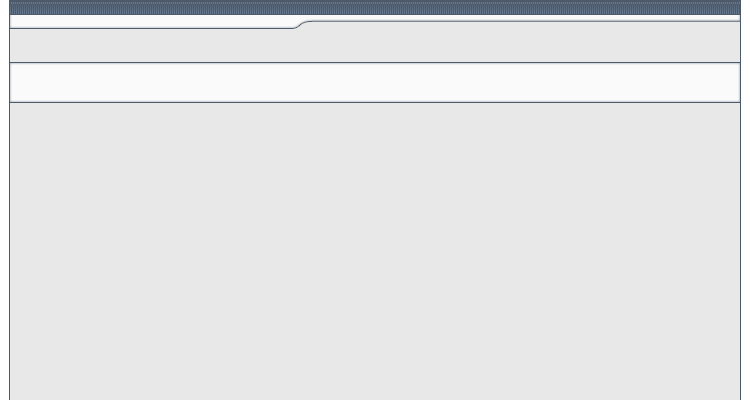
750 x 400 or so. Create a new layer and make a selection
from top to bottom. And covering most of the width, fill
it in with a bright grey. Around the hex code of E8E8E8.
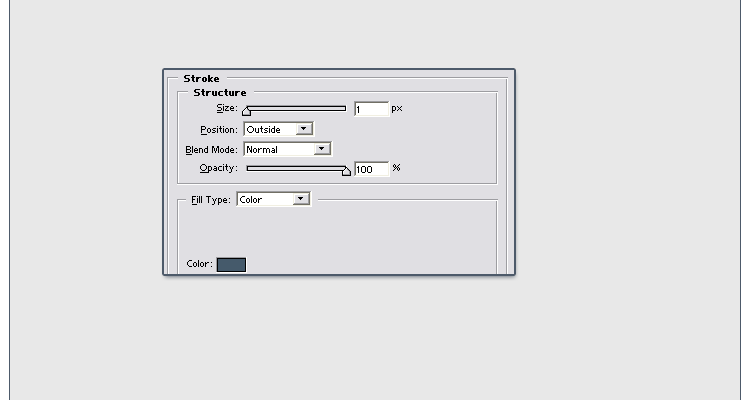
Then deselect it pressing ctrl + d. Now, right click the
layer and choose blending options. Check the stroke
option and make a 1px stroke with a color of 4D5A6A
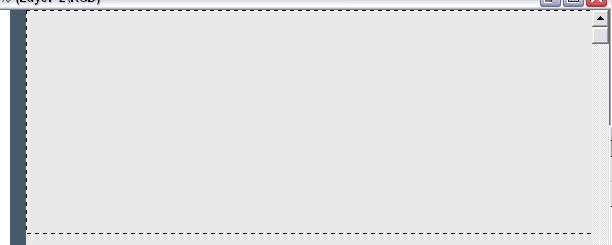
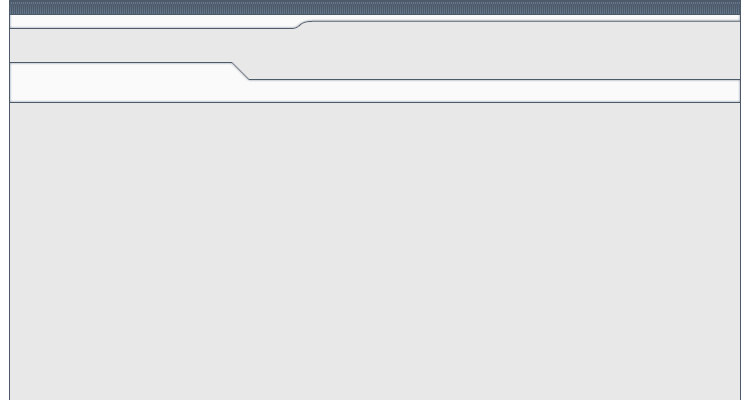
Create a new layer. Get the selection tool and make a
selection like below. Dont Make it too big. But make
shure that the selection is touching the blue line, but
not overlapping it. If your not that good, you should
zoom in and make shure its like mine.
Then, once you got the selection right, fill it in
with the same blue color (4D5A6A).
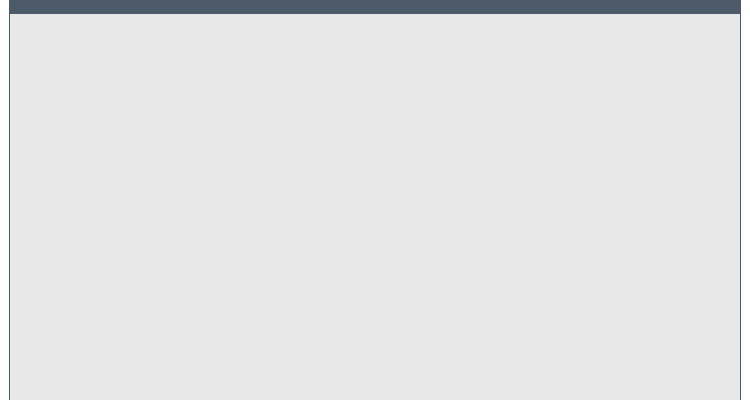
Open the blending options for that layer, and exactly
like before, add a 1px stroke with a blue stroke of
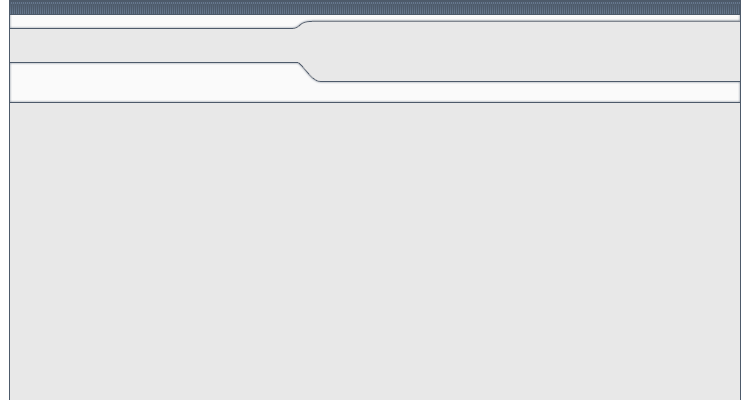
4D5A6A. Now, for a nice effect, zoom in the to max, get
out your pencil tool, set it at 1px, and change the dark
blue to a light blue color (around 66788E). Then add a
2px line in the bar that you made. Just make a strait
line by dragging a line across the dark blue area. To
make the line strait, hold shift. Then, add another line
right on top of that one.
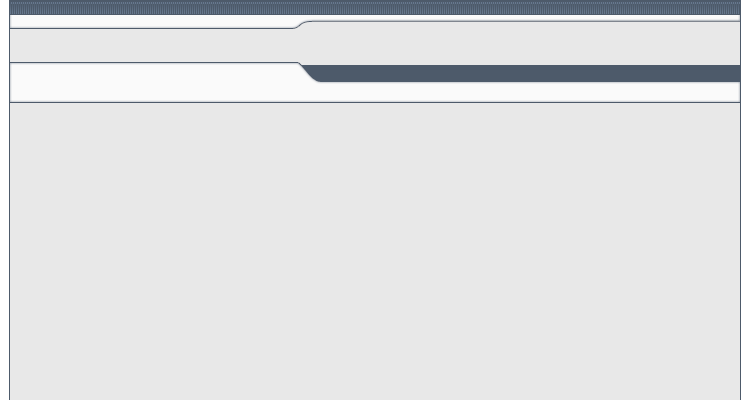
Now, you should make a pattern with horizontical
scanlines.
(
Reverse Scan Lines Tutorial.)
Just make the pattern, stop after
the tutorial tells you to close the image without
saving. Ctrl + click on your layer with the blue bar (to
bring up it's selection). Create a new layer, and add
the pattern you made to that selection by going to Edit
-> Fill, and choose the pattern you made. Right-click on
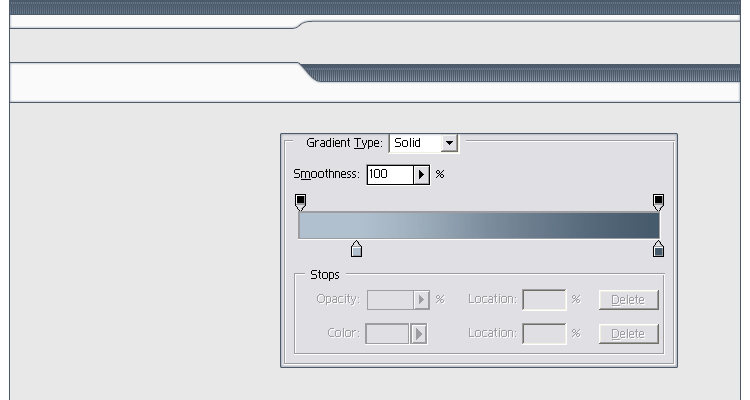
the scan lines layer and choose blending options, choose
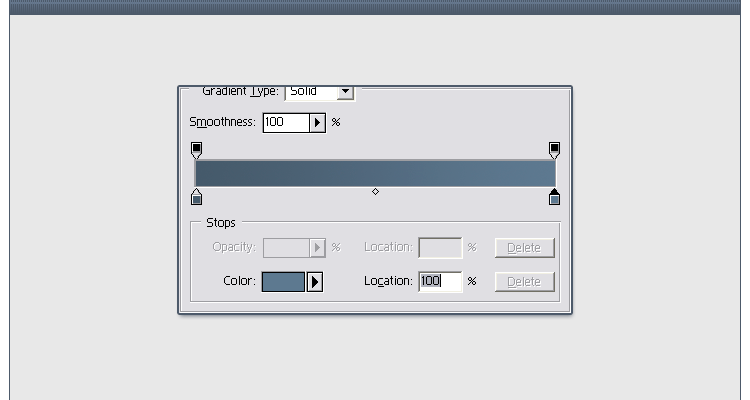
gradient overlay. Make a gradient where one side of the
gradient is the same color as the bar (4D5A6A). And on
the other side, make the color lighter.
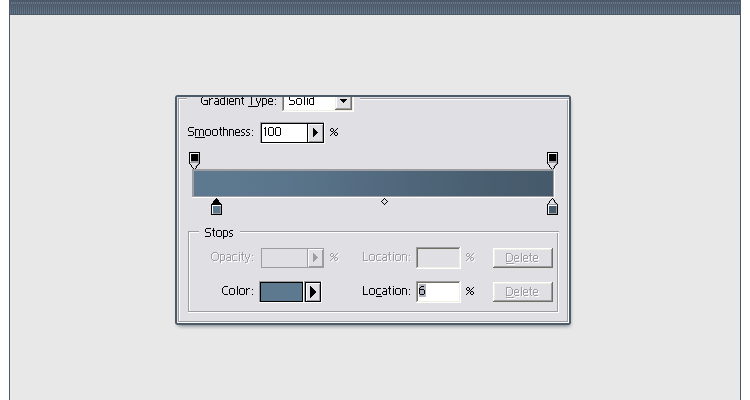
Or, if you dont like that, you can also switch the
colors, you can move the color's to the opposite sides,
or move one half way or so. Whatever you like. Here's
what i'll choose.
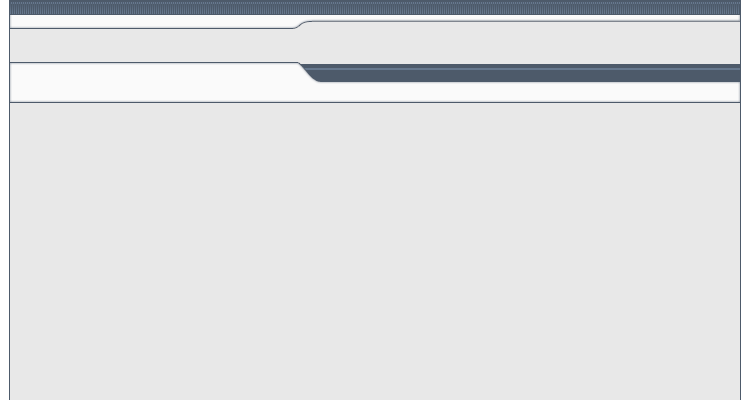
Create another new layer. But move it below your blue
bar's layer. then make a selection not too tall (make
shure it's touching, not overlapping, the blue lines on
the outside), and fill it in with a very bright grey.
Then right click on it's layer, choose stroke, add a 1px
blue stroke like before. But now, also add a Inner glow
with a nice blue tint like below.
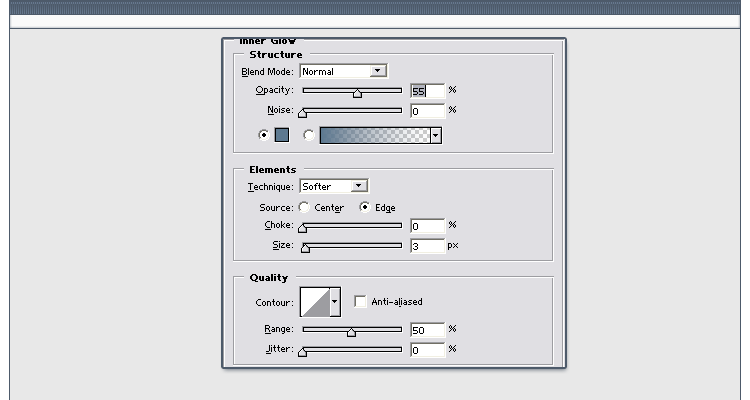
One you do that, save that style for later use.
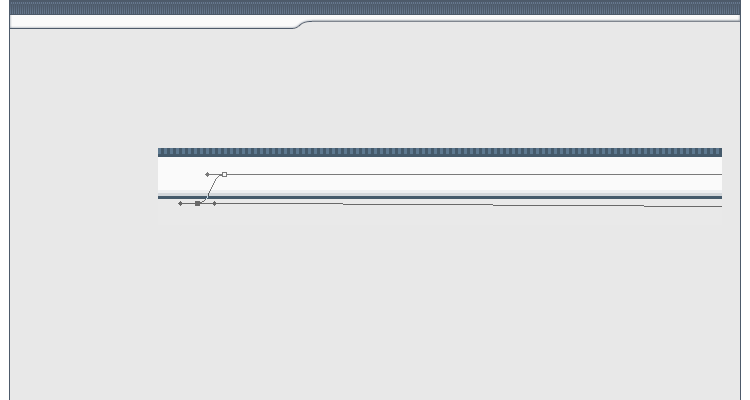
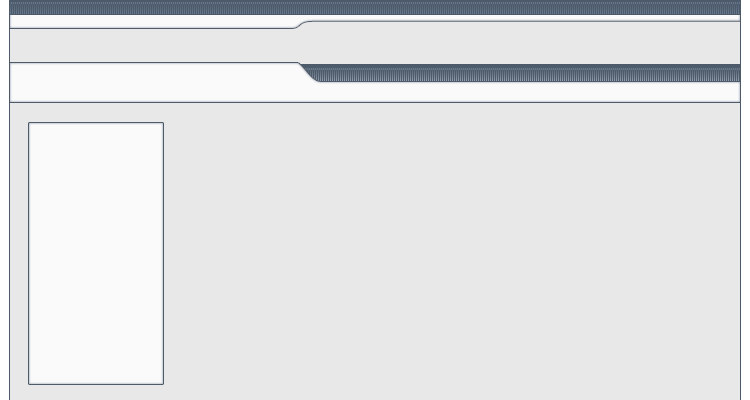
Next, what you can do, is get the Polygonal Lasso Tool,
and about half way, make a selection like below, and
holding shift, you can get strait lines.

And pressing the "delete" key get rids of that
selected part. So do it.

Or, Instead of just using the polygonal lasso tool,
to be more professional, you can use the pen tool by
zooming in a bit and make round corners. You can learn
about the pen tool with
this tutorial
Then, you can turn the path into a selection and press
the "delete" key to get rid of that selection.
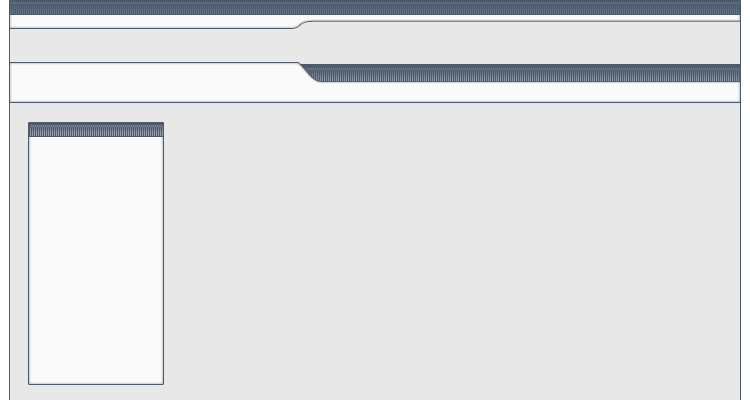
Next, we create a new layer. And make a selection
touching the blue lines, make this selection taller than
the others and fill it in with the same bright grey you
used on the other white section. Then add the same layer
style on it.
Again, you can use the polygonal lasso tool to cut
out a shape like below.

and get results like below
Or, you can add a cury line with the pen tool like below.

Turn the path into a selection, delete the selection, and get these results
Next thing were going to do is create a new layer,
and place it under the layer with the big white area you
just made. Create a selection covering the empty area
you just deleted and fill it in with the dark blue we
have been using (4D5A6A). So it looks like below.
Then add a 1px stroke with the dark blue. And just
like the very first thing we did, get the pencil tool
set at 1px, and add a 2px line near the top with a
bright blue.
And again like before, ctrl + click on the layer to
bring its selection, then add some vertical scanlines on
a new layer, and add a gradient overlay that you like.
Heres what i chose, i used a very bright blue on the
bottom.
Lets move on to a sub-content area. Create a new
layer and make a rectiangle selection. Fill it in with
white or bright grey, then add the style you made for
the other two bright grey areas. Like below.
Create another new layer and zoom in and make a
selection on the top of that rectiangle, and fill it in
with the dark blue we've been using.And just like
before, add a 2px thick line across the blue area and
add a 1px blue stroke, then add some scanlines on a new
layer and adding a gradient overlay. You should already
get the hang of doing the scanlines and gradient overlay
quickly. Also, make shure it's big enough for the title
you want to put thier (if you want to put a title their)
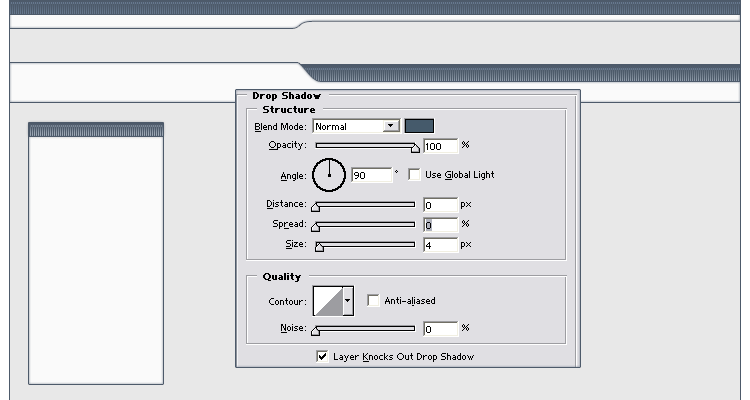
Now we go back to the blending options of the blue
area we just made and add a drop shadow.
And now, you can add the menu or stuff wherever you
want, maybe a few extra effect like more scanlines at
some parts.
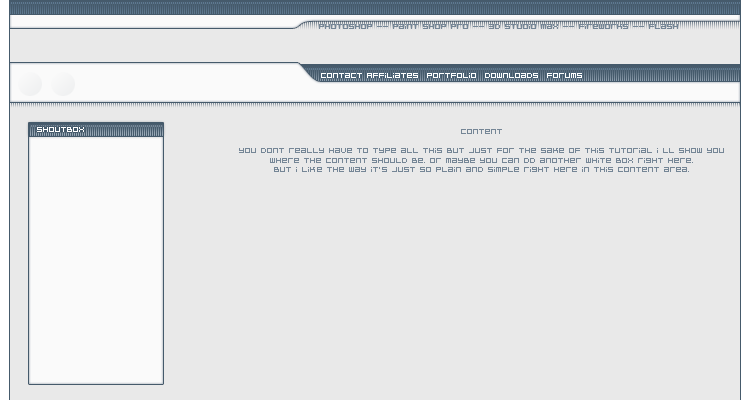
But of course, you wont forget to add a banner right? to show your real skill.
<< Web Layouts: Part 2 |
Web Layouts: Part 3 >>
|