Professional Web Layouts (Part 2)
Today, were going to find some tricks on
making pro layouts. So open photoshop. i suggest a 720 x 500
image.
Make the background a dark grey.Make a new layer. Make a
selection from top to bottom, covering almost the full image
on the sides and fill that in with a brighter color than
your previous. Next, on that layer with the brighter color,
go to it's blending options and add a 1 pixel black stroke.
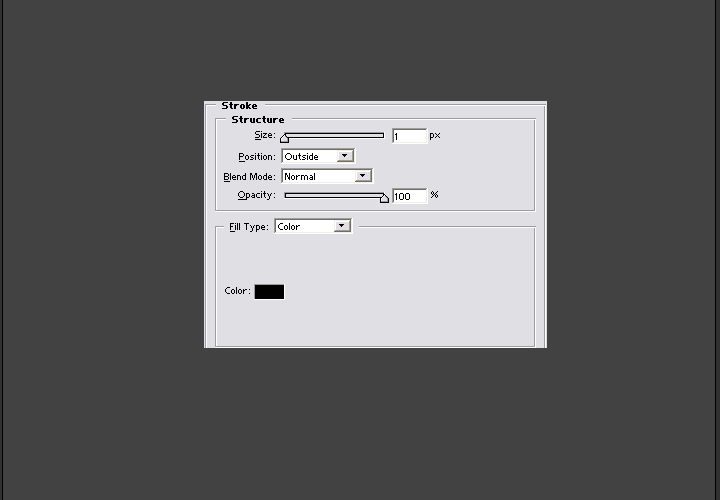
When you got that done, make a new layer and a new
selection at the very top, this part is going to be the
menu. So make shure the selection is not too small but also
not to big. Then, fill that in with a bright grey to a
medium grey gradient. also add a black 1px stroke to that
layout. Almost forgot, make the selection so it's right next
to both black lines, so it's touching the black lines, but
it's not over or past them.

Make shure that the gradient is a medium gray at the top,
and gets brighter at the bottom.
When you got the 1 pixel stroke, your going to open up the
layer styles again. and add a gradient overlay like below.
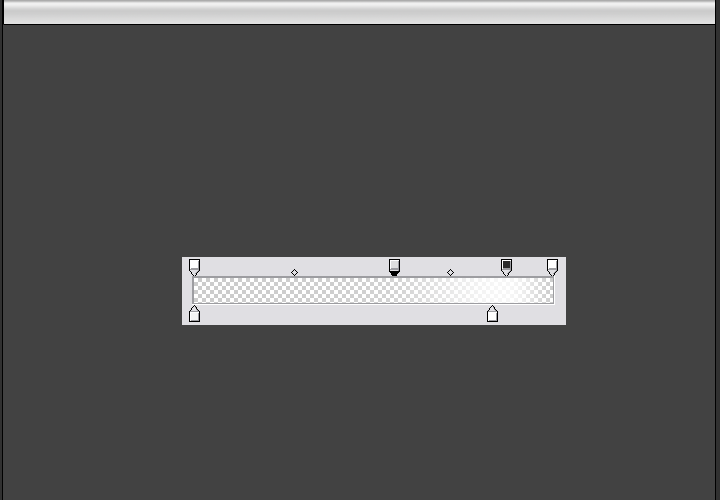
Ok, this gradient is a bit tricky. Your going to have to
make a white transparent color at the left. Then, on the
opposite side, your going to make another white color, this
time, at 100 % opacity, move it a little to the left until
you get something like what i had done. then, to make the
white sharper, add some more transparency father to the left
of the white part... If you never understand these gradeints
your never gonna make cool layouts.
Anyways, when you add a gradient like mine, your image
should look a bit shiny or plastic-ish.
When you got that layer style done, save it by clicking on
the "new style" button. Now you can add yout text or
anything like that.
Unlike my other layout tutorial, this one is more
complex, so more things to add. So now, create a new layer,
and make a selection at the right of the menu, fill that in
with a very dark grey(almost black) to a medium grey
gradient. Then, add that same style to that layer.
Then, add a new layer under the 2 menu layers. Fill it in
with another medium grey color, this is the logo part so
dont make it too small or too big, but whatever you like.
next, add a layer at the top and make a thin selection
somewhere at the bottom of your banner. and fill it in with
a gradient like your menu, a medium grey to a dark grey.
then, use that same style you used for the menu (you might
have to change the gradient overlay a bit, if you do, make a
new style out of it).
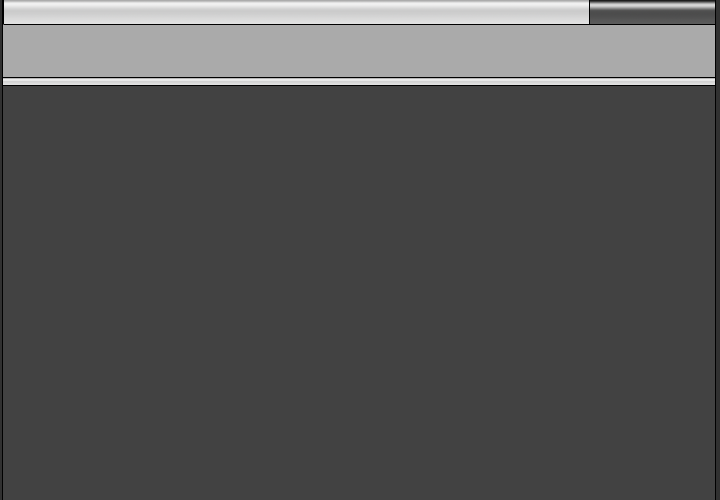
Make shure again that the medium grey is at the top of
the selection, and the light grey is at the bottom.
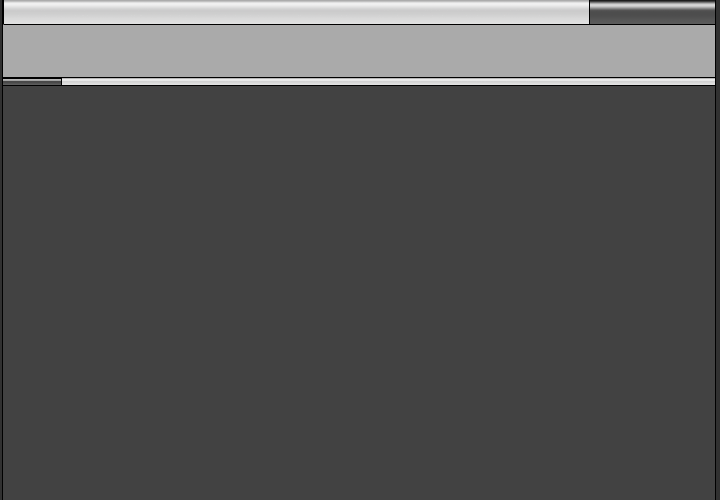
That selection looks to simple doesn't it. Well, make a new
layer again. And make a selection at the left of your small
bar you just made. Fill in the selection with a very dark
grey to a medium grey like the dark spot in your menu, and
fill again, use the same style you used for the thin bar.
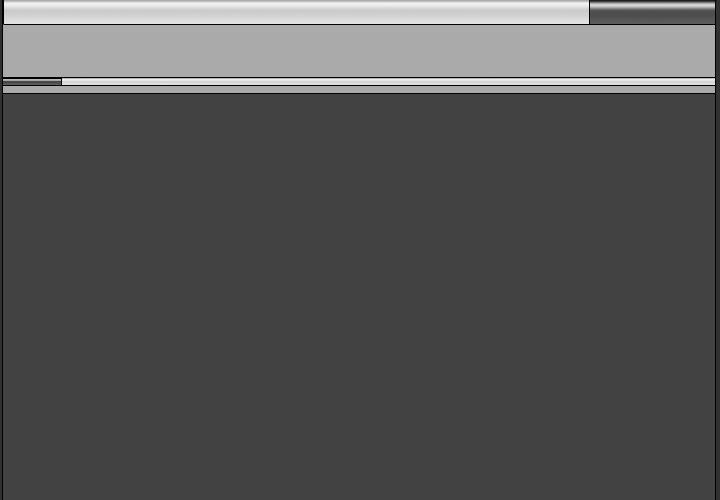
Make a new layer, make it under the 2 thin bar layers you
made. make a new selection a bit thin, and fill it in with a
medium grey. Then, add a 1px black stroke.
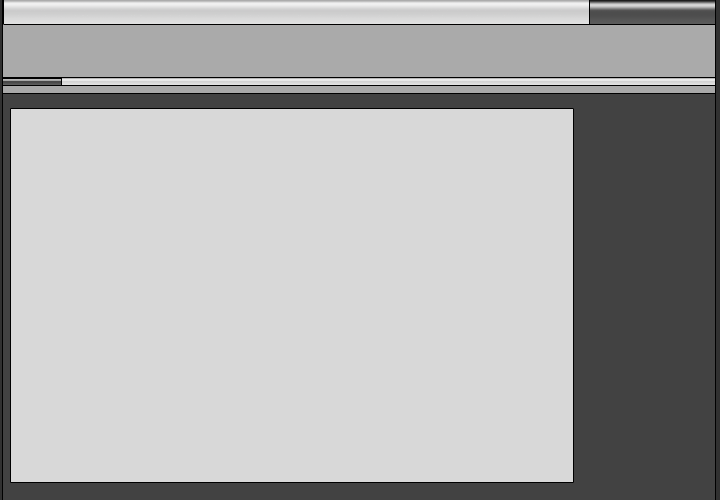
Now, were going to add space for content and a sub-menu.
So create a new layer at the top, and make a selection long
enough for content. fill it in with a medium-bright grey.
also add a 1 px black stroke to it.
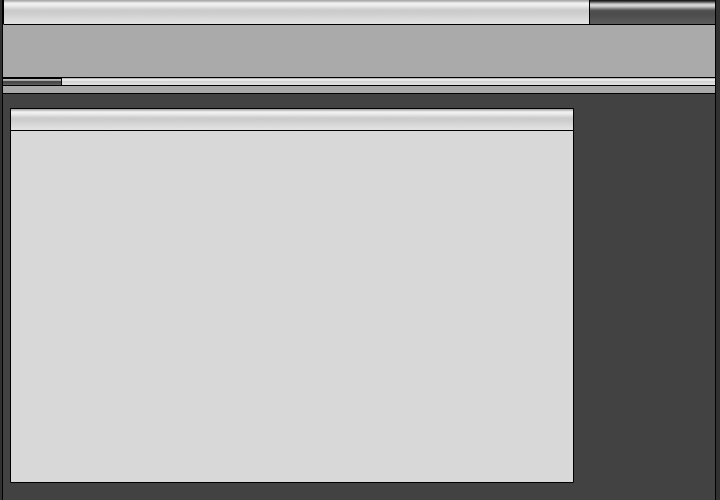
Next, create a new layer and make a selection on the top
of that content area. Fill it in with the same gradient you
did the menu. also add the same layer style you did the menu
(this is the content title area).
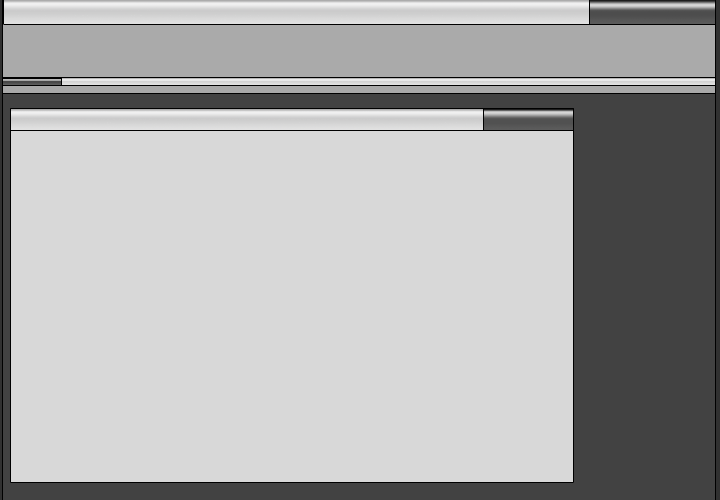
Were, almost done. Next, create another layer at the very
top again. Make a selection on the right of your content
titles area. and add a gradient with that of all the other
very dark grey to medium grey sections. also add the same
layer style.
And bam! ur done.
A professional layout that also looks cool. But, i doubt all
you want is just a content area, so your gonna have to redo
these last few steps to create a submenu on the right. Then
you can also add a few more things.
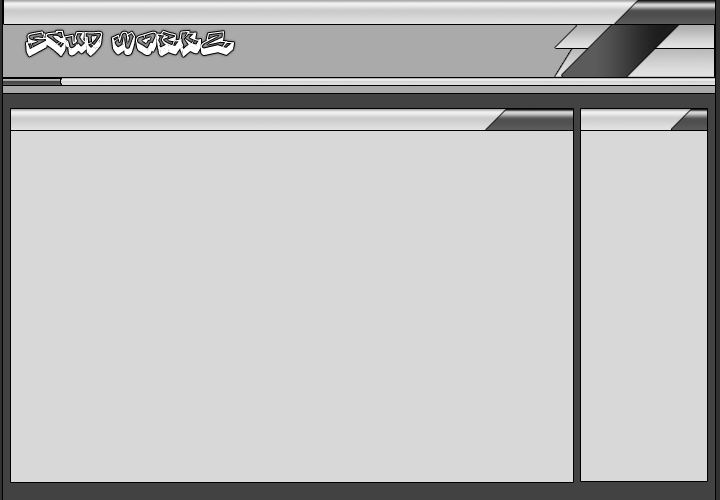
And then, you can also slice up the images and stuff.
<< Web Layouts: Part 1 |
Web Layouts: Part 3 >>
|